实验环境:建立在Python3的基础之上
numpy提供了一种数据类型,提供了数据分析的运算基础,安装方式
pip install numpy
导入numpy到python项目
import numpy as np
本文以案例的方式展示numpy的基本语法,没有介绍语法的细枝末节,笔者认为通过查阅案例就能掌握基本用法。
numpy数组的基本概念
numpy默认所有元素具有相同的数据类型,如果类型不一致,会对其进行优化。如果元素类型不同,将统一成一种类型,优先级:str>float>int

import numpy as np`` ``t_list = [1, 1.2, "hello"]``print(t_list)`` ``t_list = np.array([1, 1.2, "hello"])``print(t_list)`` ``t_list = np.array([1, 1.2])``print(t_list)
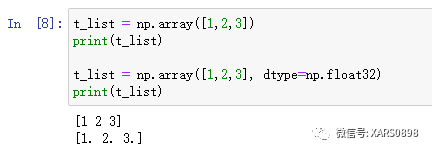
定义数组的时候,可以声明数据类型
t_list = np.array([1,2,3])``print(t_list)`` ``t_list = np.array([1,2,3], dtype=np.float32)``print(t_list)
numpy构造数组
1、np.ones(shape, dtype)
shape=(m,n) m行n列``shape=(m) m个元素的一维数组``shape=(m,) m个元素的一维数组``shape=(m,1) m行1列的二维数组 [[1],[2],[3]]``shape=(1,m) 1列m行的二维数组 [[1,2,3]]
t_list = np.ones(shape=(5,4), dtype=np.int32)``print(t_list)

2、np.zeros(shape, dtype)
t_list = np.zeros(shape=(5,3), dtype=np.int32)``print(t_list)

3、np.full(shape, fill_value, dtype)
t_list = np.full(shape=(2,3,4), fill_value=10, dtype=np.int32)``print(t_list)

4、np.eye(N,M,k,dtype)
# 单位矩阵``t_list = np.eye(N=5, dtype=np.float32)``print(t_list)`` ``# 控制行列的矩阵``t_list = np.eye(N=5, M=4, dtype=np.int32)``print(t_list)`` ``# 1向左偏移``t_list = np.eye(N=5, k=-1)``print(t_list)

5、np.linspace(start, stop, num, endpoint=True, retstep=False, dtype)
# 共11个数``t_list = np.linspace(0, 10, 10)``print(t_list)``# 共10个数``t_list = np.linspace(0, 10, 10, endpoint=False)``print(t_list)

6、np.arange(start, stop, step, dtype)
t_list = np.arange(1,10,2)``print(t_list)

7、np.random.randint(low, high=None, size=None, dtype)
# 随机数``t_list = np.random.randint(1, 100, size=(5,4))``print(t_list)

8、np.random.random(size)
# 0到1之间的随机数``t_list = np.random.random(size=(5,4))``print(t_list)

9、np.random.permutation()
# 随机索引``t_list = np.random.permutation(10)``print(t_list)

10、属性
t_list = np.full(shape=(2,3,4), fill_value=10, dtype=np.int32)``print(t_list)``# 维度``print(t_list.ndim)``# 形状``print(t_list.shape)``# 大小``print(t_list.size)``# 元素类型``print(t_list.dtype)

数组的索引和切片
1、索引
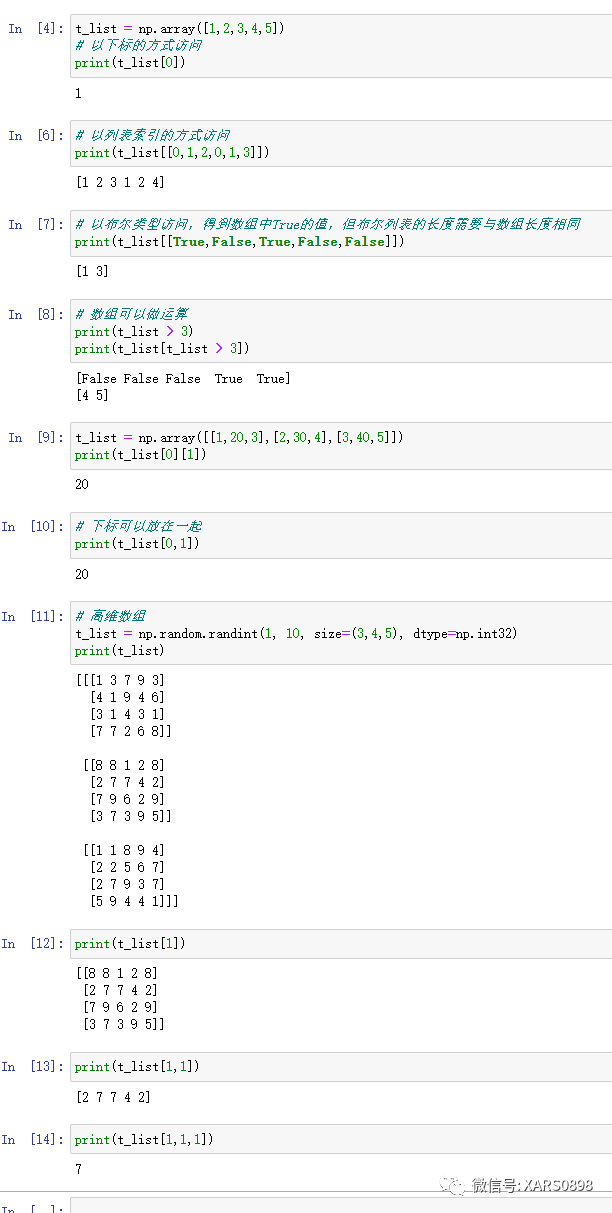
t_list = np.array([1,2,3,4,5])``# 以下标的方式访问``print(t_list[0])``# 以列表索引的方式访问``print(t_list[[0,1,2,0,1,3]])``# 以布尔类型访问,得到数组中True的值,但布尔列表的长度需要与数组长度相同``print(t_list[[True,False,True,False,False]])``# 数组可以做运算``print(t_list > 3)``print(t_list[t_list > 3])``t_list = np.array([[1,20,3],[2,30,4],[3,40,5]])``print(t_list[0][1])``# 下标可以放在一起``print(t_list[0,1])``# 高维数组``t_list = np.random.randint(1, 10, size=(3,4,5), dtype=np.int32)``print(t_list)``print(t_list[1])``print(t_list[1,1])``print(t_list[1,1,1])
2、切片
t_list = np.random.randint(1,100,size=(10), dtype=np.int32)``print(t_list)``# 切片``print(t_list[2:5])``t_list = np.random.randint(1,100,size=(5,6), dtype=np.int32)``print(t_list)``# 行切片``print(t_list[1:3])``# 列切片``print(t_list[:,1:3])``t_list = np.random.randint(1,100,size=(3,6,5), dtype=np.int32)``print(t_list)``print(t_list[:,:,1:3])

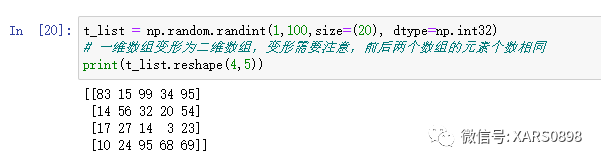
3、变形
t_list = np.random.randint(1,100,size=(20), dtype=np.int32)``# 一维数组变形为二维数组,变形需要注意,前后两个数组的元素个数相同``print(t_list.reshape(4,5))
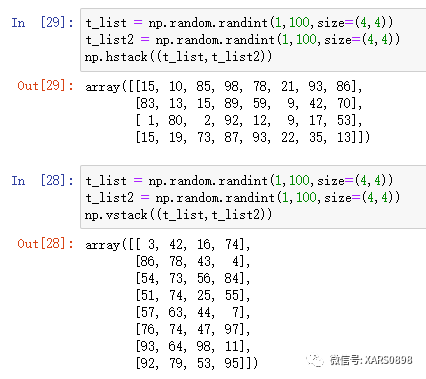
4、连接
t_list = np.random.randint(1,100,size=(4,4))``t_list2 = np.random.randint(1,100,size=(4,4))``# 横向连接,要求两个数组的横列大小相同``t_list = np.concatenate((t_list,t_list2), axis=1)``# 纵向连接,要求两个数组的横列大小相同``t_list = np.concatenate((t_list,t_list2), axis=0)

t_list = np.random.randint(1,100,size=(4,4))``t_list2 = np.random.randint(1,100,size=(4,4))``np.hstack((t_list,t_list2))``np.vstack((t_list,t_list2))
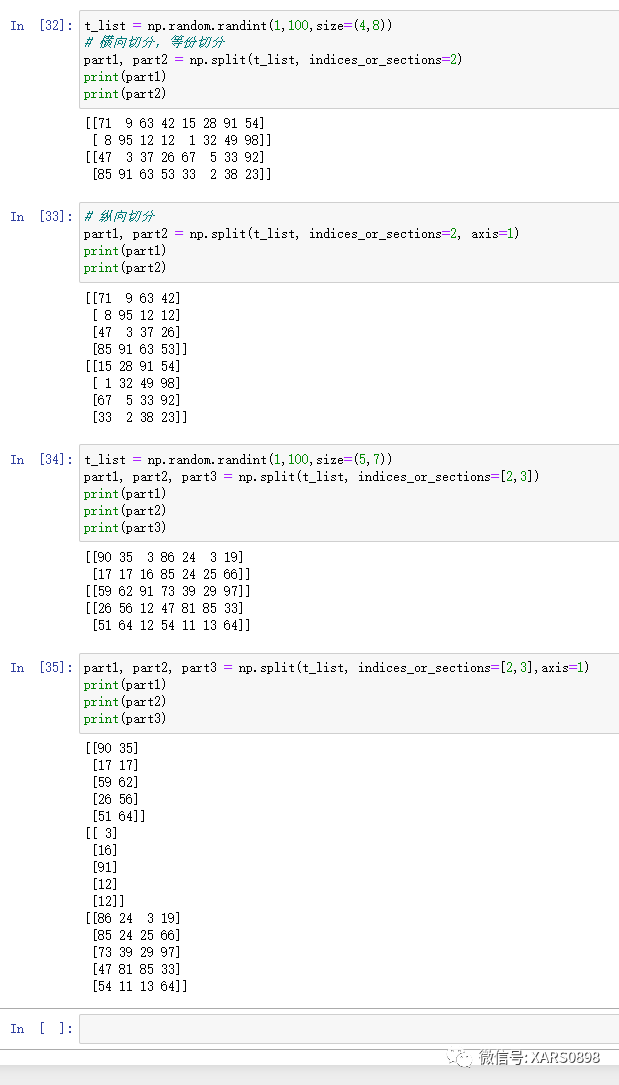
5、切分
t_list = np.random.randint(1,100,size=(4,8))``# 横向切分,等份切分``part1, part2 = np.split(t_list, indices_or_sections=2)``print(part1)``print(part2)``# 纵向切分``part1, part2 = np.split(t_list, indices_or_sections=2, axis=1)``print(part1)``print(part2)``t_list = np.random.randint(1,100,size=(5,7))``part1, part2, part3 = np.split(t_list, indices_or_sections=[2,3])``print(part1)``print(part2)``print(part3)``part1, part2, part3 = np.split(t_list, indices_or_sections=[2,3],axis=1)``print(part1)``print(part2)``print(part3)
part1, part2, part3 = np.vsplit(t_list, indices_or_sections=[2,3])``print(part1)``print(part2)``print(part3)``part1, part2, part3 = np.hsplit(t_list, indices_or_sections=[2,3])``print(part1)``print(part2)``print(part3)

6、复制
ct_list = t_list.copy()``ct_list[1,2] = 1000``print(t_list)``print(ct_list)

聚合操作
1、求和
t_list = np.random.randint(1,100,size=(4,8))``# 求和``print(t_list.sum())``# 求均值``print(t_list.mean())``# 求最值``print(t_list.max())``print(t_list.min())``# 最值索引``print(t_list.argmax())``print(t_list.argmin())``# 标准方差``print(t_list.std())``# 方差``print(t_list.var())``# 中位数``print(np.median(t_list))

2、布尔运算
t_list = np.array([True, False, True, True])``# 只要存在一个True,返回True``print(t_list.any())``# 全部为Ture,返回True``print(t_list.all())

3、矩阵
t_list = np.array([[1,2,3],[2,3,4]])``t_list2 = np.array([[1,2],[2,3],[3,4]])``print(np.dot(t_list, t_list2))

以上是numpy的基本操作,numpy提供了操作数组的运算基础,复杂业务处理,还需要Pandas的加入。
题外话

感兴趣的小伙伴,赠送全套Python学习资料,包含面试题、简历资料等具体看下方。
👉CSDN大礼包🎁:全网最全《Python学习资料》免费赠送🆓!(安全链接,放心点击)
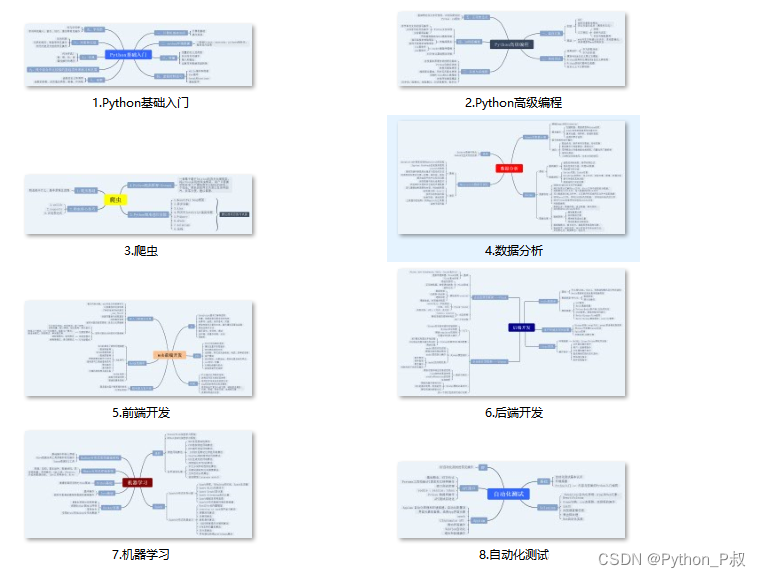
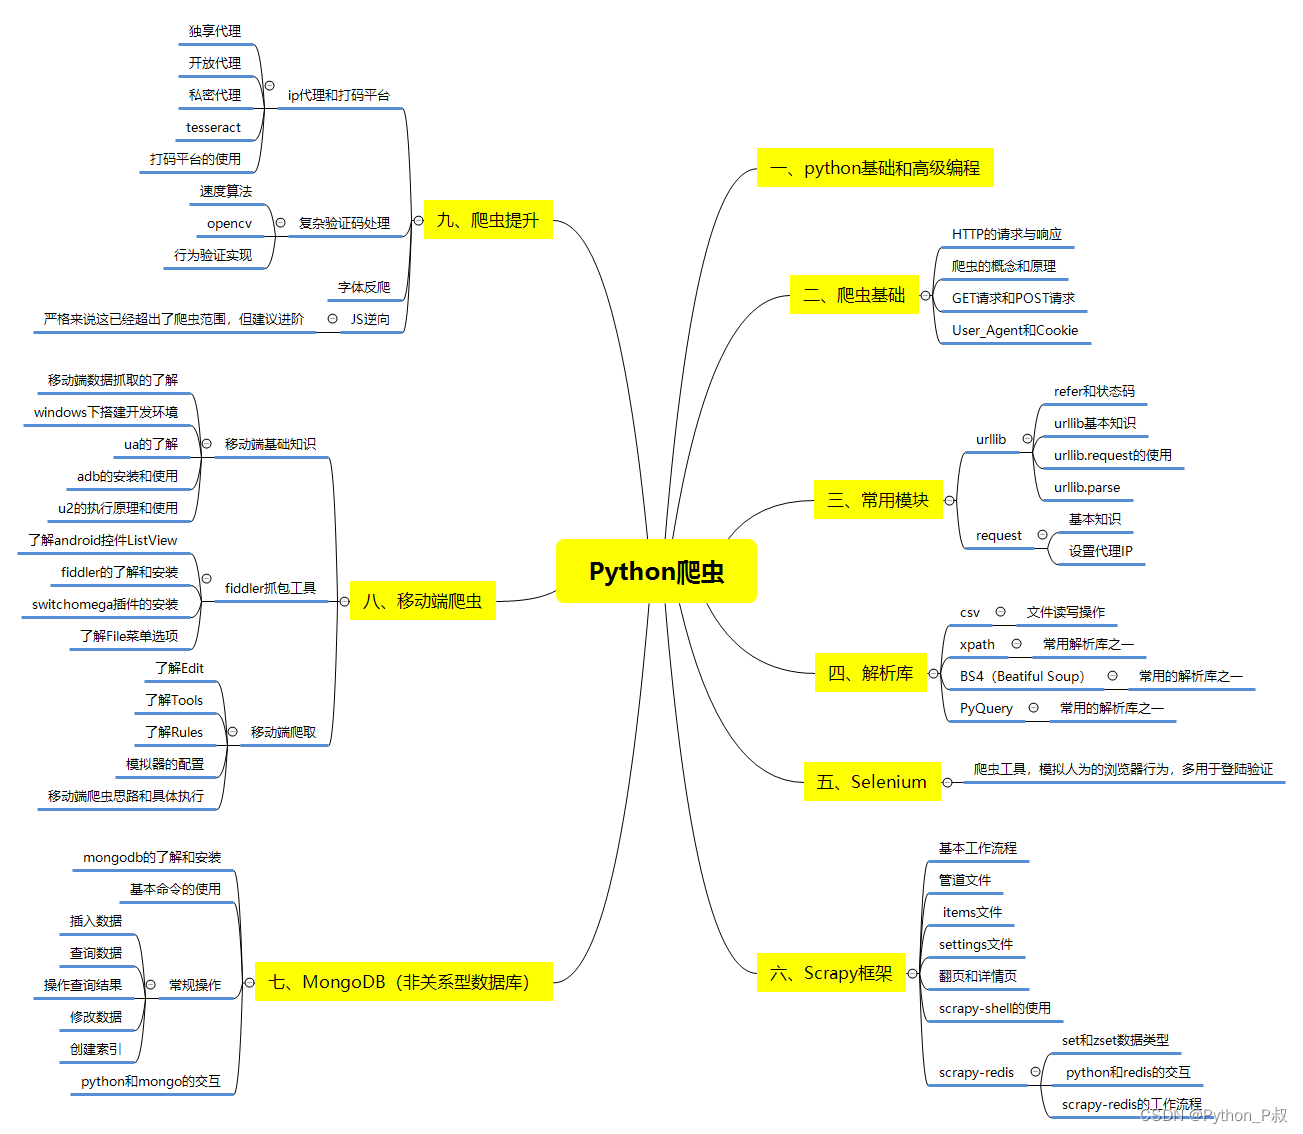
一、Python所有方向的学习路线
Python所有方向的技术点做的整理,形成各个领域的知识点汇总,它的用处就在于,你可以按照下面的知识点去找对应的学习资源,保证自己学得较为全面。
二、Python必备开发工具
工具都帮大家整理好了,安装就可直接上手!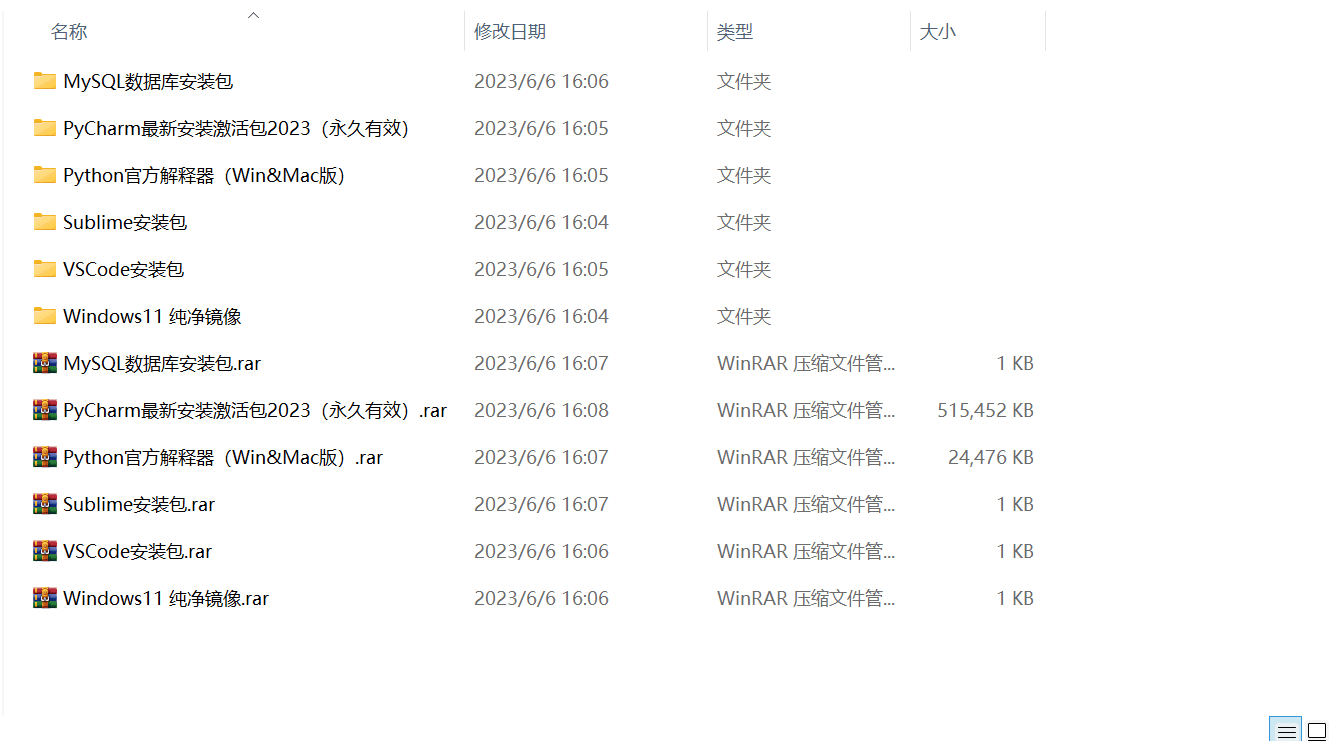
三、最新Python学习笔记
当我学到一定基础,有自己的理解能力的时候,会去阅读一些前辈整理的书籍或者手写的笔记资料,这些笔记详细记载了他们对一些技术点的理解,这些理解是比较独到,可以学到不一样的思路。

四、Python视频合集
观看全面零基础学习视频,看视频学习是最快捷也是最有效果的方式,跟着视频中老师的思路,从基础到深入,还是很容易入门的。

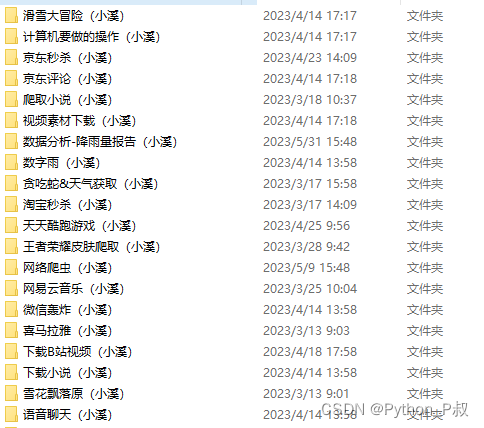
五、实战案例
纸上得来终觉浅,要学会跟着视频一起敲,要动手实操,才能将自己的所学运用到实际当中去,这时候可以搞点实战案例来学习。
六、面试宝典

简历模板
👉CSDN大礼包🎁:全网最全《Python学习资料》免费赠送🆓!(安全链接,放心点击)
若有侵权,请联系删除